4. Upload arduino code to board for the first time
After completing installation of Arduino IDE and connecting arduino board to a PC, you are ready to upload a simple arduino code for the first time to test if the arduino environment works. The example here uses “Arduino UNO” board.
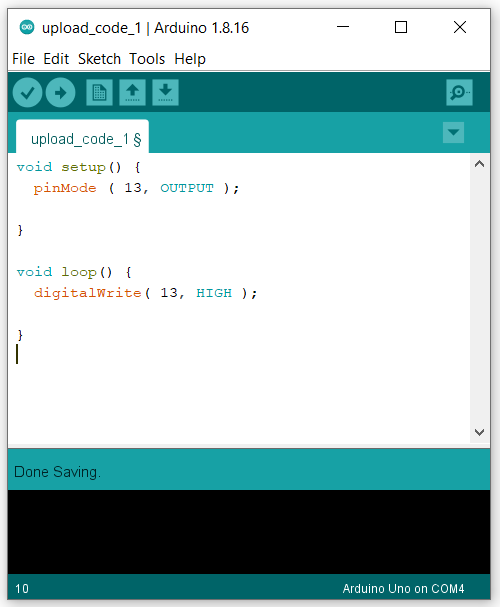
(1) Let’s write a simple code as below.
void setup() {
    pinMode( 13, OUTPUT );
}
void loop() {
    digitalWrite( 13, HIGH );
}
Here I will briefly explain the meaning of each block.
Setup() block is run only once after the code is uploaded. Setup() is used to initialize settings of connected devices or to do the setting for libraries. There must be one setup() code in any arduino code.
Loop() block is the main block which is repeatedly run. After the program is run to the end of the loop clock, the program is run again from the beginning of loop block and this is repeated.
pinMode (pin number , Mode );
pin number: pin location number to set up its mode
Mode: INPUT, OUTPUT, INPUT_PULL(Since Arduino version 1.0.1)
digitalWrite( pin number, HIGH or LOW);
HIGH : 5V or 3.3V is set to the pin. The voltage depends on the board’s supply voltage.
LOW : 0V is set to the pin.
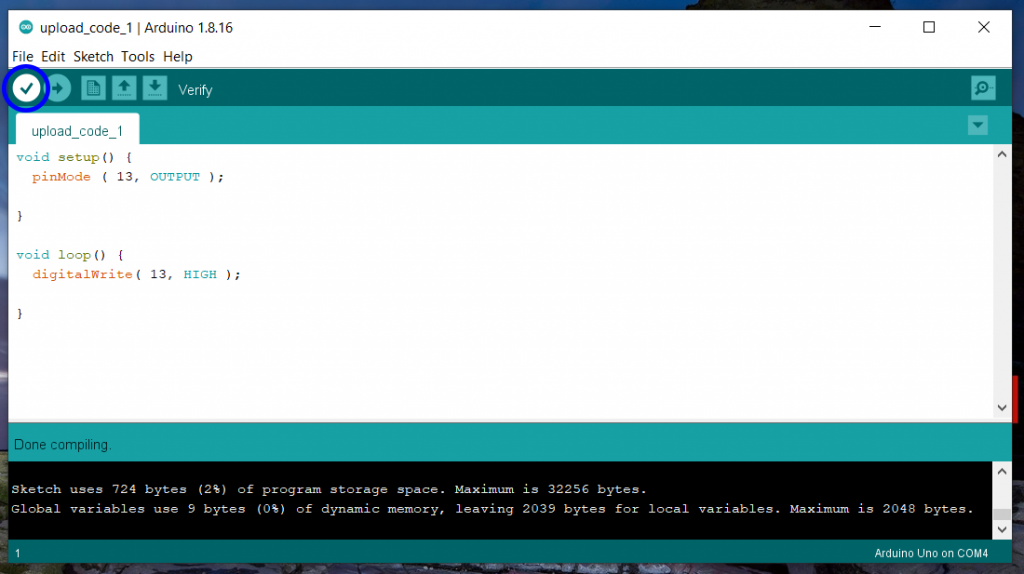
(2) Verify the code by clicking “Verify” button.
The picture below shows that its compilation is successful.
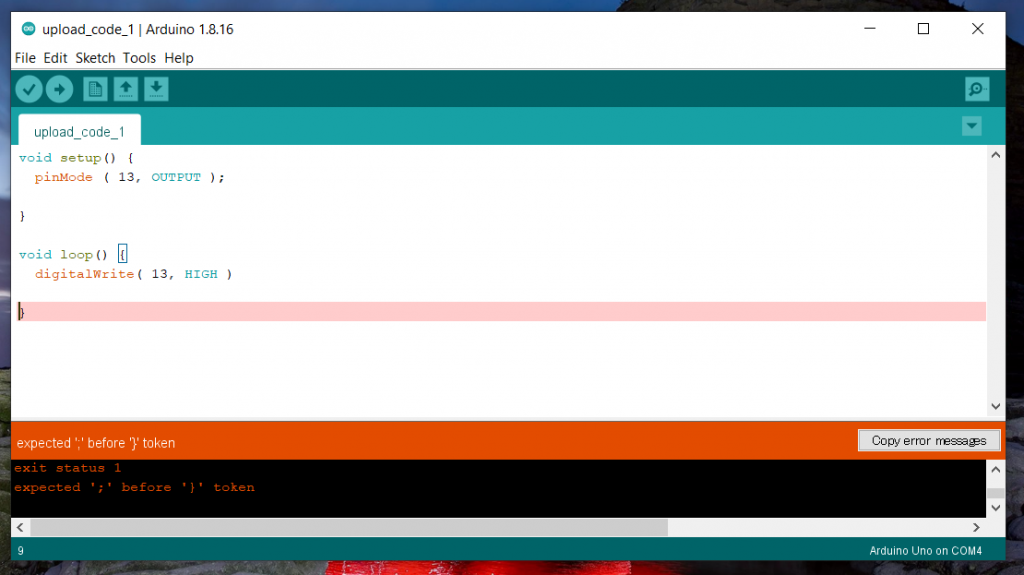
Here is an example where after “digitalWrite” command, “;” and compilation fails.
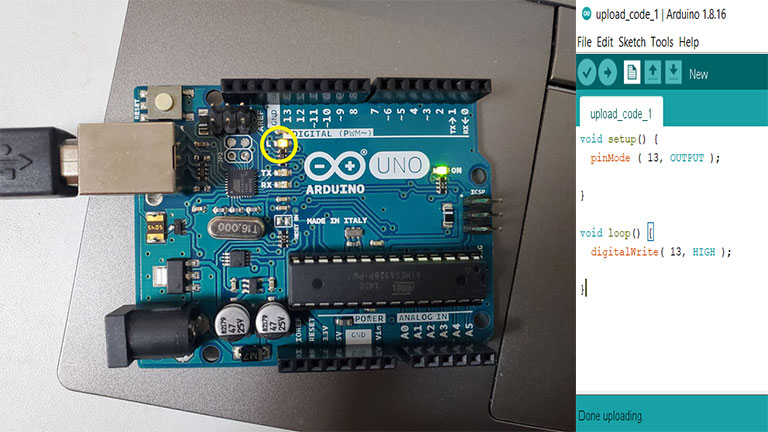
(3) upload the code to arduino board by clicking “Upload” button.
Click “Upload” button and then compilation will be done and the code will be uploaded to the arduino board.
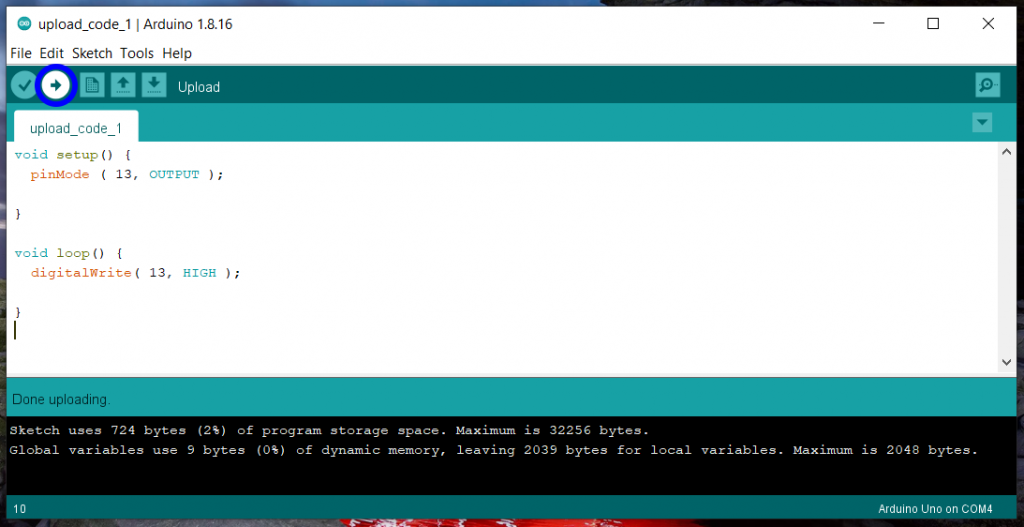
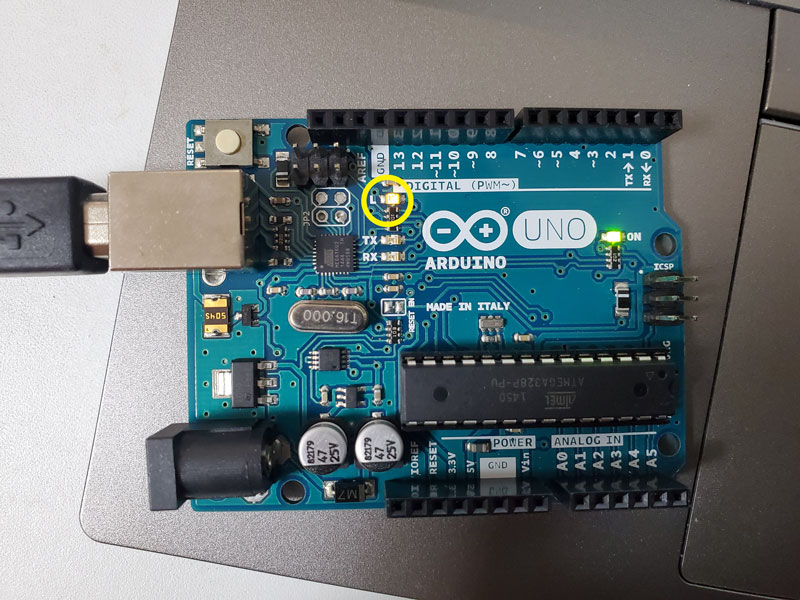
Then, on the Arduino Uno board, a LED labeled as “L” will lights up.
The “L” LED is connected to the pin 13. If the “L” led lights up, the first compilation and upload is succeeded!
(4) Another way to write a code is to utilize example codes provided in Arduino IDE.
Open from “File” -> “Examples” -> “01.Basics” -> “Blink”.
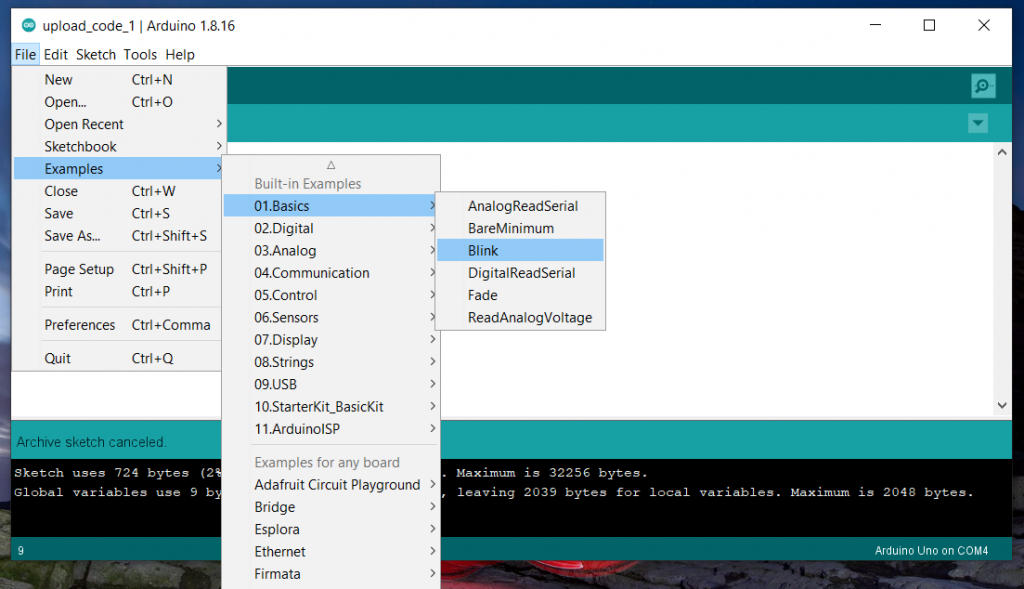
Then, a code will appear on the edit area.
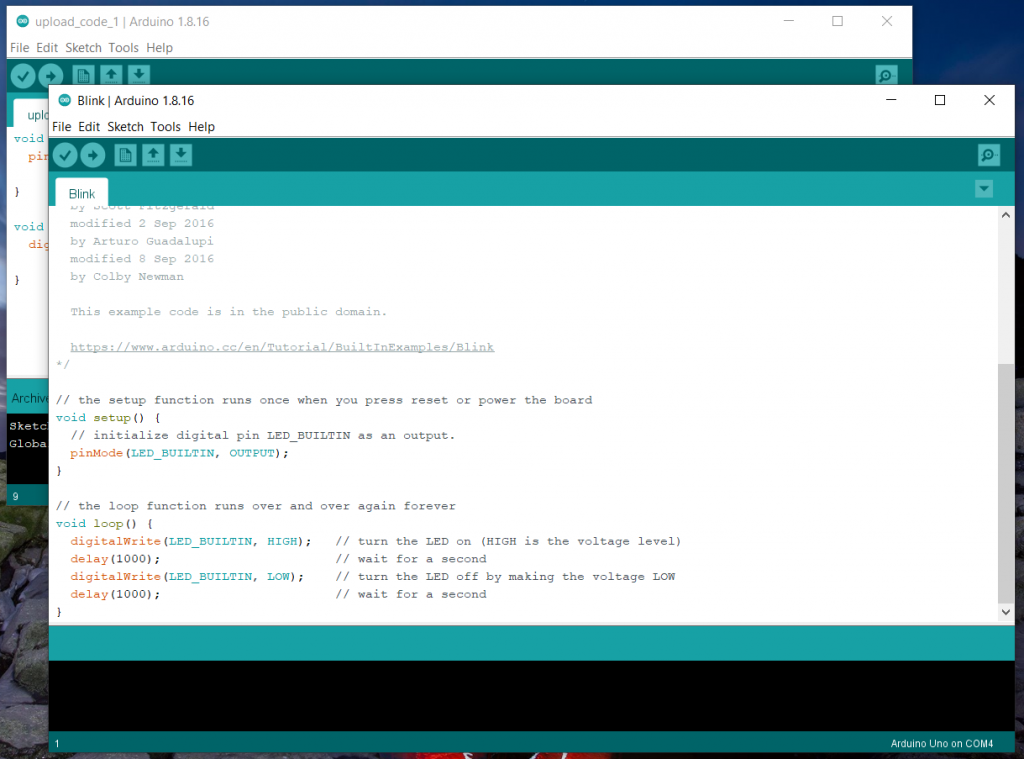
This code makes “L” led blinks at intervals of 1 seconds.
If you see it on the board, it is successful Great!