3. How to use Arduino IDE
Now that you are ready to use Arduino IDE to make programs to send to your arduino board.
First, you need to learn the basics of Arduino IDE use, interface, menu, tools.
Here is Arduino IDE screen and brief explanation for each buttons and areas.
Let’s learn Arduino IDE usage and its interface, buttons, screens.
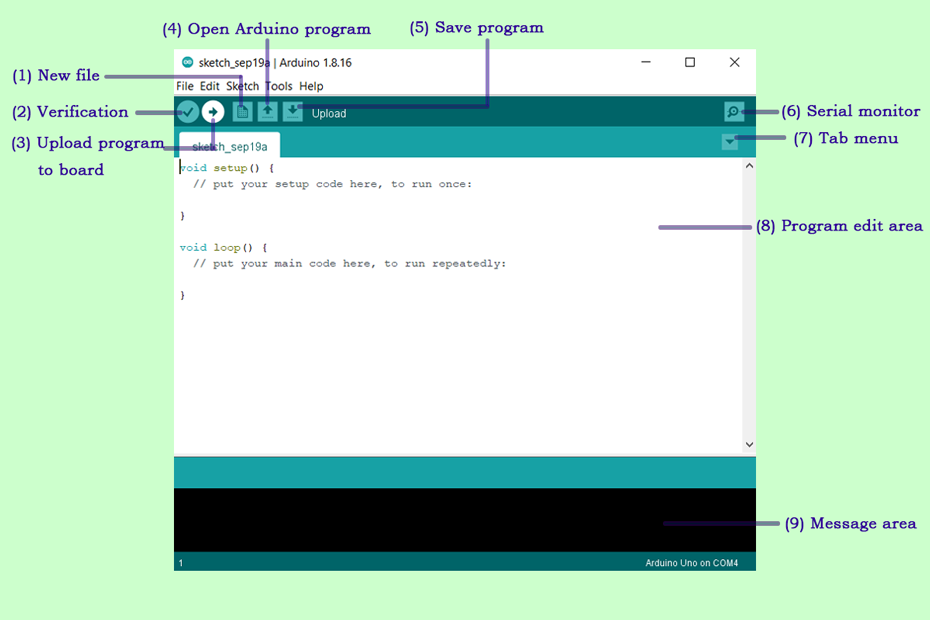
(1) New : Click here to make a new program.
(2) Verify : It checks the program, coding syntax, pre-defined word use, etc. If any missing, mistake is found, it will cause an error and display message in (9) Message area.
(3) Upload : It will perform verification and upload the program to your arduino board.
(4) Open : To open a program which is saved in your PC earlier.
(5) Save : To save a program you write in the edit area.
(6) Serial monitor : This is for watching messages sent from the arduino board through the serial communication.
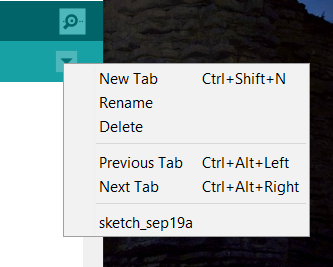
(7) Tab menu : “New tab”, “Rename”, “Delete”, Previous Tab”, “Next Tab”, and program name which is opened now.
(8) Program edit area where you write an arduino program.
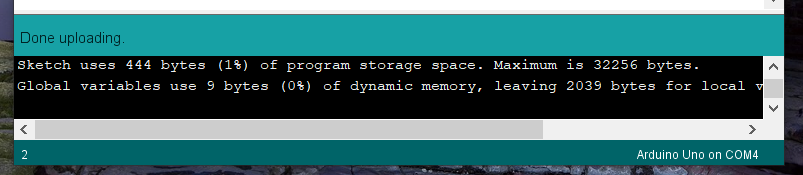
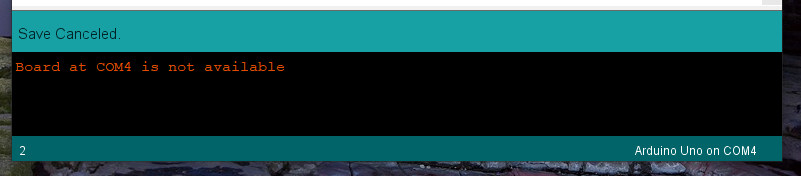
(9) Message area shows messages when completing uploading, any error occurs, etc. Here are examples.
These are Arduino IDE interface summary.
Let’s learn more detail through actual example from next articles!
http://hinatoo.com/2021/10/09/4-upload-arduino-code-to-board-for-the-first-time/